
Impossible Software Videos Integration
Add personalised images to tracked objects in your videos.
Adding a personalised image dynamically into a video, tracked to an object, is pretty damn cool!
Tracking an object in a video allows a personalised image to move around, with perspective, as the object moves in the video.
Sounds impossible right, or at the very least crazy complex and expensive, with Hyperise and Impossible Software its both simple and inexpensive!
To get started you'll need:
a video with a suitable area or object to add tracking
a personalised image to add to your video
For this example we've grabbed a simple ShutterStock video:
Your browser does not support HTML5 video.
1. First create an account with Impossible Software if you don't have one already, its free to sign-up and you only pay for usage, with a generous free tier to get you started.
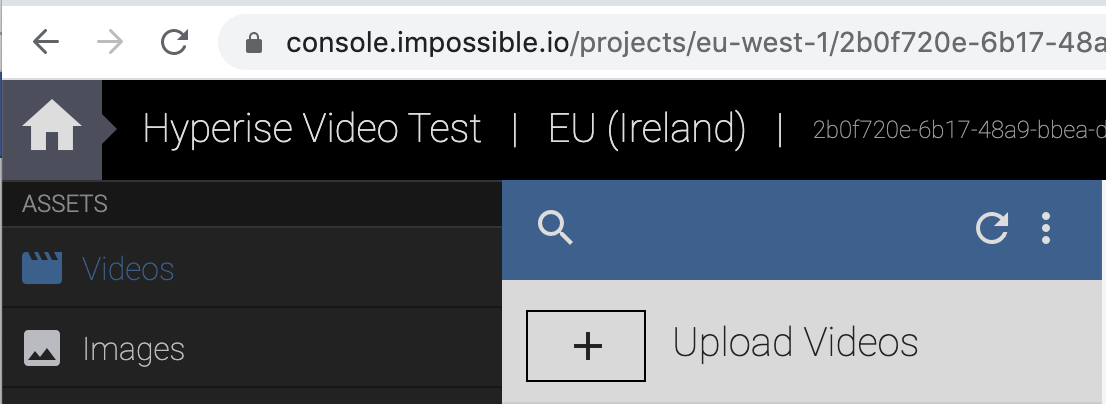
2. Once signed, login and head over to Videos > Upload Videos and upload the video you wish to personalise.
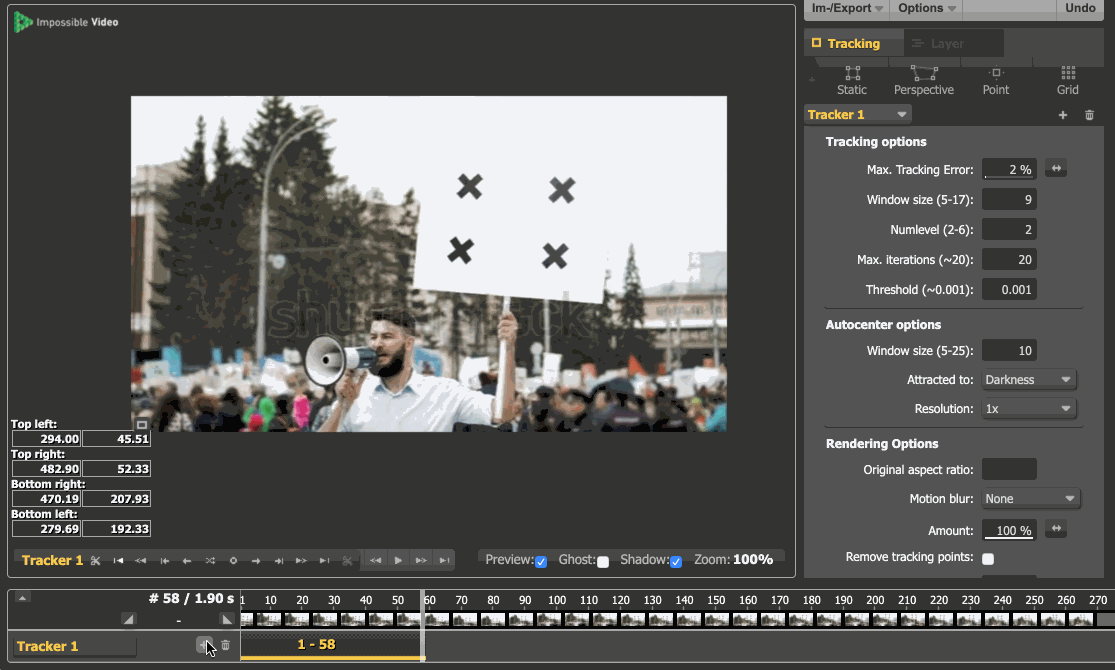
3. Select Create Composition (top right) once you've selected your uploaded video, to start the object tracking process.
4. Add a Tracking Layer to your video. Choose the Perspective tool and drag each corner to the object you want to track.
5. Now advance the Tracker layer, frame by frame, using the One Frame Forward button.
6. Use the Auto Track Forward button to automatically move forward till an adjustment is needed, then correct the track error by re-adjusting the tracking map.
7. Add a Dynamic image layer to the Tracker by click + on the Tracker timeline. Then select HTTP Image Layer type and Variant type of Variable.
The variable name, this can be any variable name, that you will use at run time to supply the Hyperise image to.
You can also supply a default image URL to use, this can be useful with the Preview enabled, so you can see your image in the video as you step through.
You can repeat steps 4 -7 for each personalised image and tracking you want to add to your video.
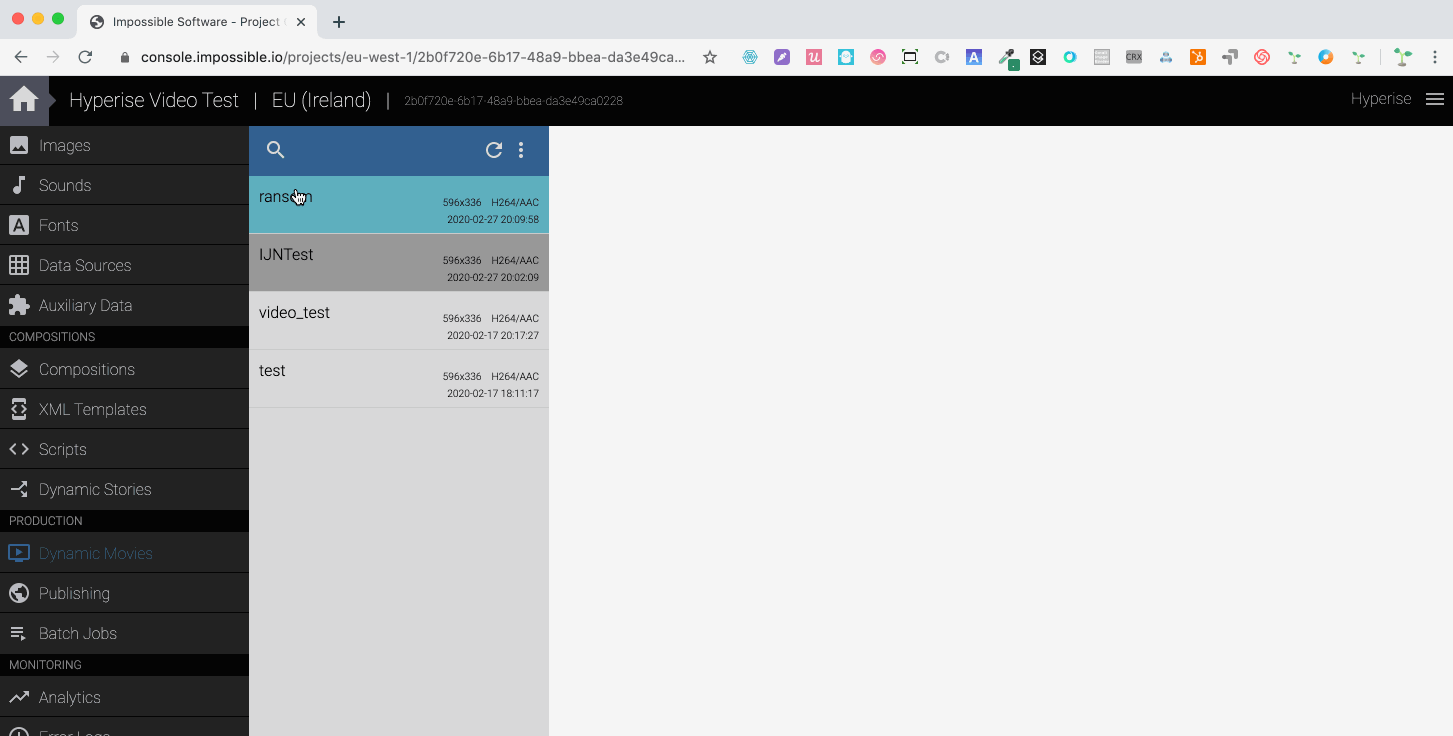
8. Once finished adding images and tracking, select Export Dynamic Movie to prepare the video ready to be used with Active personalised images.

9. Once you've exported the Movie you can now play it, whilst also adding data in the parameters to your image, to enable the personalisation.

10. Now you can embed your video on your website, select Render API and then method Direct which will then provide you with the video URL, which can then dynamically change personalisation data and the Hyperise image to use in the video, all on the fly!
11. Once you have your dynamic video URL from Impossible software, you can add this to your website in a video player and they use Hyperise to update video parameters when personalisation is loaded on your website.
Using the Hyperise onComplete function we can update video, as shown in the example below:
<script>
hyperise.init({
  onComplete: function(personalized){


    var video = document.getElementById('isVid');
    video.src = "https://render-eu-west-1.impossible.io/v1/render/2b0f720e-6b17-48a9-bbea-da3e49ca0228/agency_vid.mp4?website=https:%2F%2Fimg.hyperi.se%2Fi%2FwCgTuRldF.png%3Femail%3D"+visitorEmail+"%26website%3D"+hyperise.personalized.business_website;

  }
});
</script>
In the above example the Video is isVid element on the page, which shows the video, like the HTML video block below:
<video id="isVid" style="max-width: 1000px; height:100%; margin: auto; padding: 0px" controls="controls" loop width="100%" height="auto" class="website-shadow">
  <source src="" type="video/mp4">Your browser does not support the video tag.
</video>
Adding both above blocks to your page, whilst also updating the video string in the first block will enable the video to personalise dynamically to each visitor.
Did this answer your question?